"Imagination is the beginning of creation. You imagine what you desire, you will what you imagine and at last you create what you will."
-
George Bernard Shaw
Showing posts with label baking. Show all posts

Sunday, July 31, 2011

Kitchen Gadgets I NEED

Sometimes when I'm cooking (which is often) I realize that if I had X, Y or Z my life would be a lot easier and preparing meals would go a lot more quickly. So here is a list of gadgets I'm on the lookout for, aka "a list of things I should have registered for when we got married."

Immersion Blender
My friend Katie has one of these things and loves it. And I never knew what it was till her blog post about losing it in the move and needing a new one, etc. Now it seems like something that would just be so useful! The nifty thing about these guys is that they allow you to blend (and chop, which hand mixers do not) right in the container food is being prepared in. You don't have to put things in a specific container to chop or mix. You can put it right in a pan on the stove! 


Here's a link to KitchenAid's version. It's of course fancy. 

Food Mill
So far, the only time I've wanted one of these is when making applesauce. And I'm not sure what else you really would use it for. It separates seeds, stems, skins, larger chunks etc. All the bits that you don't want from a food product that you're taking from whole to pureed or mashed. I suppose once I have a gas stove again and am able to start canning I'll be using this to make tomato sauce (not pasta sauce, the base for pasta sauce) and tomato paste, etc. 


A pretty version from Williams-Sonoma.

Juicer
Now that we're eating healthier this seems like something that would be handy to have around. I don't know if I would really start drinking glasses of pureed vegetables. But one of my favorite things about our honeymoon in Mexico was the watermelon water. It was SO GOOD. And I'm fairly confident I could make it with this! Or at least juice some limes to make tasty margaritas. I suppose that's reason enough in itself! 


Pretty!


So, what fancy things do you know of that I need to add to my list? 


P.S. Up tomorrow-- a recap of my amazing weekend in Indy!!! So relaxing. Wonderful time. 

Tuesday, July 26, 2011

Kale Chips: Weird and Awesome (I think?)

I've started exercising for the first time since senior year of college (when I worked out for the first time in my life for 3 months before graduation). I'm on week 1.5 and so far so good. The main purpose of this (it's shocking!) is to be more healthy. Being thin and being healthy are NOT the same thing. Yeah, I'm thin by the grace of God, but walking up two flights of stairs makes my heart explode and my legs feel like rubber. I've decided that's pathetic and not really a good long-term life plan. The working out part is actually not so bad (and more about what I'm actually doing later). It's changing the diet that is super hard for me. 


I like to eat, and I like to eat whatever I want whenever I feel like it. I think butter should be its own food group. Gummy worms and Skittles probably deserve a slice of the new food plate chart too. Don't get me wrong--I like my fruits and veggies. It's just that cookies and pies are more fun to eat and make.


This is where the kale chips come in. You're probably thinking, "Oh this is going to get really boring because all the food Megan is going to make and take pictures of is going to be healthy crap." And THAT, my friends, will be your downfall. Is is going to get a little strange? Yeah. For sure (keep reading). Is it going to be healthier than what I normally cook? Let's hope so. Am I going to stop baking delicious (sometimes unhealthy) things completely? No way. There's a reason I study portion sizes and self control. 


So, on to the promised kale chips. If you're like me, you have heard of kale but never eaten it, really seen it or cooked with it. We decided to do our first week of healthy-food shopping at Whole Foods. It just seemed appropriate. And they have a sign that explains all the numbers next to the fruits and veggies are rating their overall "goodness" for you. Brian really liked this, and preceded to research all his favorite foods and things we eat often. Here's an example: soda = 1 point. Kale = 1000 points. For real. So he suggested I get some kale. And I decided that, despite not being born in the deep south, I would buy some and figure out what to do with it later. 


 It looks like the foliage you get on the side of your plate at a restaurant. Not a good start.
So I found a recipe for kale chips, my friend Mary said they're amazing, and it sounded like it would take approximately 15 minutes total. It also has "chips" in the name. I'm in. You start by washing the kale, tearing it off the long stem into mouth-size pieces, and putting it on a cookie sheet sprayed with cooking spray. 


Still looks like plate foliage decorations.
Then you spray the kale with cooking spray (you probably don't need as much as I used, but I was nervous). I sprinkled some garlic salt and parmesan cheese on top (not too much!) and put the pan in the oven for 10 minutes at 350. The recipe comments said a hundred times to watch it very carefully, especially at the end, because there is a fine line between soggy kale chips and burnt kale chips. At about 9.5 minutes I checked and they were done, couldn't take another second without burning. Here's the REALLY weird thing: they shrink big time! 


Where'd all the kale go!?!? 
They still LOOK like regular kale...but they're crispy!! I put one in my mouth and it just disappeared! It was like crunchy air. And it was DELICIOUS. I ate probably 1/4 of the pan above (portion control what?). And I will warn you, as good and addicting as these things are, if you eat a bunch at once you will end up chewing lettuce-like stuff because some pieces will be more lettuce-like and less crunchy than others. I'm okay with that. 


Ta-da! Weird and awesome. 
Moral of the story? My future kids are going to hate it when I pack them "potato chips" for lunch. 


P.S. If anyone has made these/ends up making these with different types of kale let me know what happens. There's several varieties and I'm curious about how they all taste! I have heard that the more purple ones are more bitter--that seems to actually make a lot of sense. 

Sunday, February 20, 2011

Homemade Krispy Kreme Donuts

I found a recipe for homemade donuts that were supposed to be Krispy Kreme knockoffs quite some time ago. But making and glazing donuts is a fairly time-consuming project. And takes way too much time for breakfast unless I want to get up at 5a.m. (I do not). So instead I spent my entire morning/early afternoon making donuts today. 


The second rise. Look at the cute little donut holes!
The missing piece of the puzzle to make these a reality was a donut cutter. Like a cookie cutter, but for donuts. (You could also use two different size biscuit cutters, but I don't have time for that!). My mom-in-law got me one on the same birthday shopping trip that produced the pie crust cookie cutters


See the inner circle to punch out the hole? 
These were much thicker than the other half of the dough. Popped up nicely in the oil!
I fried the donuts at about 350 degrees for MAYBE 30 seconds each, and then Brian glazed them. 


Not a healthy snack.

But oh so delicious. 
And finally the finished product!


Donut holes!


It was definitely worth the time, and I'm glad I finally just broke down and made them once, but this is an "every once in awhile" recipe. Or special occasion type of thing. :) And the taste is actually pretty darn close to the original! Less vanilla in the glaze next time, but other than that, I'm not sure I could get any closer without having their secret recipe. And considering the closest store is in Kettering, these are the only ones we'll be having any time soon. :)

Wednesday, February 9, 2011

Butter Cookies

I love butter so much it should probably just become a label tag to use on my blog entries. These cookies use FIVE sticks of butter. What a dream come true. 
The awesomeness of this photos speaks for itself.

I started out creaming FIVE sticks of butter and one cup of sugar. 


I ate at least a spoonful of this and I'm not too proud to admit it. 

Then add a teaspoon of almond extract, then three cups of flour, then one egg, then two cups of flour, then one egg, then one cup of flour (that's a total of 6 cups of flour and 2 eggs). Make sure you mix after each addition of ingredients. (Isn't this the crappiest format for a recipe you've ever seen? I didn't intend to write it out like a normal recipe, a la Katie's blog, but if you need it written out that way I'll modify the post. :-P)

The resulting cookie dough looks like play dough. But is much more delicious.

This is my new favorite toy, a cookie press so nicely borrowed from Nicki for this project. Don't worry, I'll be getting my own soon. It seems kind of ludicrous that I haven't owned one or ever successfully operated one till now!


I never have any idea what the shape of the cookie will be based on the little disk. Thank goodness for online photo guides!! This one is what was used when I first tasted them, but I think this recipe will end up being used for many more cookie press projects in the future. :) 

My first sheet! I got the hang of it by the end of the tray. But once I started making strips of dough that went all the way across I realized I'd just be breaking them apart to get on a cooking rack and eat anyways! 


Then you add the finishing touches before baking: sprinkles and decorator sugar! 

These sprinkles make every cookie the best I've ever tasted. 

Next time I'll probably sprinkle a little white sugar (just a hint!) over top of the sprinkles before baking to sweeten it up and give the top a little extra crunch after coming out of the oven. 


Now the cookies are ready to pop in the oven at 375 for 9-11 minutes. I did more on the 9-10 minute side. I like softer cookies. Though honestly, if you're watching them carefully, you could go a full ten and they'd be a little crunchier (not a bad thing with these cookies! Especially if you want them for a morning treat with your coffee or in the evening with hot chocolate). We definitely liked these better the next day after they had a night to cool and firm up. So next time, I'm going for the 10-11 minute range.

Ta-da! 

One very important note: You really need to use a KitchenAid mixer for this recipe. I know! I'm sorry! But the dough is so thick it could legitimately break your hand mixer. So you can try your hand mixer, but you're probably going to need to mix in the last couple of cups of flour by hand. This recipe is definitely a winner and is going to be my go-to for holidays, special occasions, etc from now on. Enjoy! 

Sunday, January 23, 2011

Homemade Applesauce

I've noticed that all the blogs I follow take the weekends off (probably because it's their "real" job, and this is clearly [unfortunately] not mine...) and I tend to ramp up the writing on the weekends. Anyways, I had 8 old apples sitting on the counter and considered throwing them out yesterday. Instead, I put them in the "ingredients" section on allrecipes.com to see what might come up (I was feeling in the mood for some kind of apple tart...) and APPLESAUCE came up. Brilliant! Make semi-mushy apples mushier and nobody will know how old they are! 


My lovely friend Katie who has a very funny cooking blog did this applesauce recipe last year, and I wish I would have remembered it in time! (Or at least the part about putting the peels in the oven sprinkled with brown sugar for crispy apple-chip type snacks before I pitched all my peels.) 


I'm thrilled to add applesauce to the list of things I'm never buying from the store again. That list is slowly getting longer! (In that blog post she talks about making her own ketchup...which I'm definitely now researching too). So, this applesauce is pretty spectacular. It ended up tasting a lot like apple pie filling! 


I kept wishing those were chunks of butter. 
So I looked up a bunch of recipes for this and then just kind of winged it. Here's measurements I used for sure. With the other ingredients you're on your own! Taste as you go--it's the way the real cooks do it. ;-) 


Homemade Applesauce
8 apples (I had golden delicious, fuji and some other reds on hand and used them all)
1 cup water
1/2 cup white sugar (will probably use less next time, and will probably try to substitute some maple   syrup and/or honey for some of that processed stuff too! see Katie's recipe)
1 tsp vanilla
1 tsp lemon juice (it just seemed like the right thing to do)
2 TBS butter (we got fancy butter from Jungle Jim's. Ingredients? Cream. Salt. Amazing)


I added in cinnamon (maybe 1-2 tsps? Little seems to go kind of a long way depending on how much of that flavor you like) and sprinkled some apple pie spice in there too. I also added light brown sugar (maybe 2-3 TBS, not too much). When all that stuff was added I turned the stove on med-med high and covered the 3-quart pot. 


After a little bit it started boiling so I reduced it to medium heat. About 20-25 minutes later the apples were soft enough to mush with my spatula spoon. 


Looks watery but it thickens when you stir it and let it sit.
I took a big fork and mashed it all up. Some big chunks of apple are still in there and I'm okay with that. 


Yes, please.
A quick note on the butter I added--It made this a very rich, more dessert-like applesauce. If you're looking for something a bit more like the store stuff, leaving out the butter is probably a good idea. But since I never miss an opportunity to use butter, it's staying in in the future! 


My first task for this tasty treat was to put it on some vanilla ice cream for dessert! 


All is right with the universe.
My future plans for the applesauce include mixing it with oatmeal for breakfast, and using it as a side with pork chops and sauerkraut for dinner tomorrow night (there will also be mashed potatoes and possibly a veggie, in case you were wondering). Happy eating!

Monday, January 3, 2011

Strawberry Cream-Filled Cupcakes

Drooling yet? I spent my Friday off work baking--literally, all day. I made cupcakes from scratch, a cream cheese icing, and a strawberry cream filling. And all so I could carry them to a NYE party in one of my wonderful Christmas presents from Brian: a cupcake/cake carrier (Williams-Sonoma calls it a "courier" but we're not that fancy).

Photo from Williams-Sonoma's website. Buy one here! P.S. Do you see those flower cupcake muffin things?! How does one make those!? 

So first I made the icing because it needed to be in the fridge for awhile to thicken up. 

I've mentioned before that butter and brown sugar are two of my favorite ingredient combinations. Unsalted butter and cream cheese is another great one. I know it seems kind of weird and like it could actually taste pretty disgusting. But if you love cream cheese and butter independent of one another as much as I do, you understand how great putting them together can be. 

This particular recipe called for 5 cups of confectioner's sugar (also known as 10x in the baking world. Don't ask me why!). It sounded like a lot, and by the time I had added 4 cups I was a little overwhelmed by the sweetness! And that is truly saying a lot for a person with a sweet tooth of my caliber. I only added 4 cups on the first batch and then a little less than 4 on the second batch. Then I mixed them together and the result was pretty amazing--plenty of sweetness but a big cream cheese flavor as well. 

On a side note, if you plan on adding confectioner's sugar "one cup at a time while continuously beating the icing on medium speed" with a KitchenAid as the recipe suggests, this is what your kitchen will look like. 

Powdered sugar EVERYWHERE. The mixing bowl is hiding some of the mess as well.
I would suggest adding it VERY gradually, and if you can aim the sugar to hit the blade it seems to work much better. Otherwise, when the mixer makes its way around and hits the pile of powdered sugar you just put in, it explodes into a big cloud all over everything, including you!

The cupcake batter was the best I have ever had. It was light, fluffy, sweet, a little floury. The texture had so much lightness to it it's hard to describe. It was almost like a mousse. It made me so excited to actually bake the cupcakes. I was paranoid about ruining that wonderful batter in the oven that I sat next to the oven with the light on and practically watched them rise and bake for the last 7-8 minutes of bake time. 

There are no words for this!
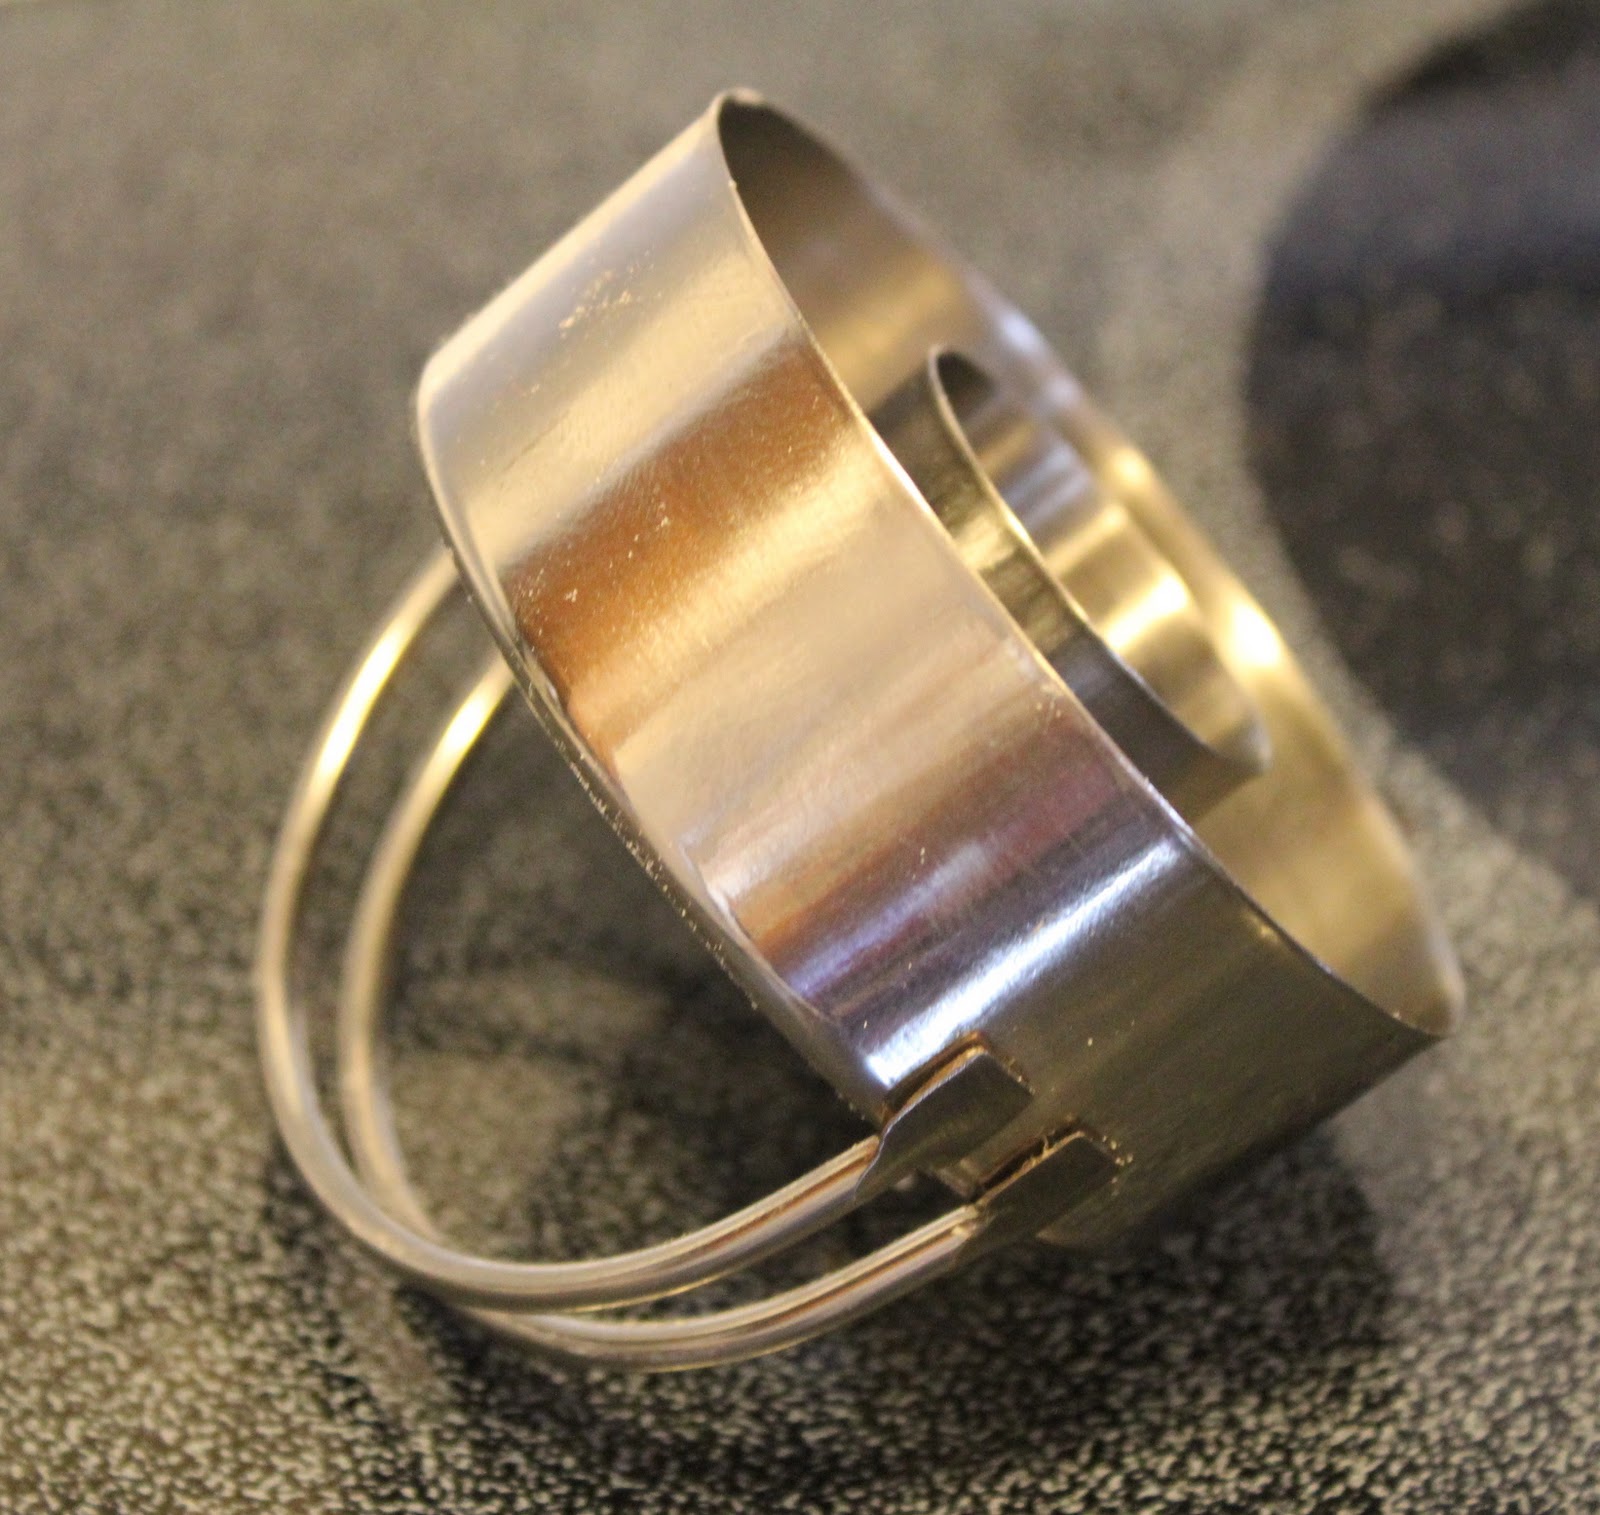
The real point of this little exercise was to try out the cupcake corer I got for my birthday. 

It looks kind of vicious but it's just plastic. 
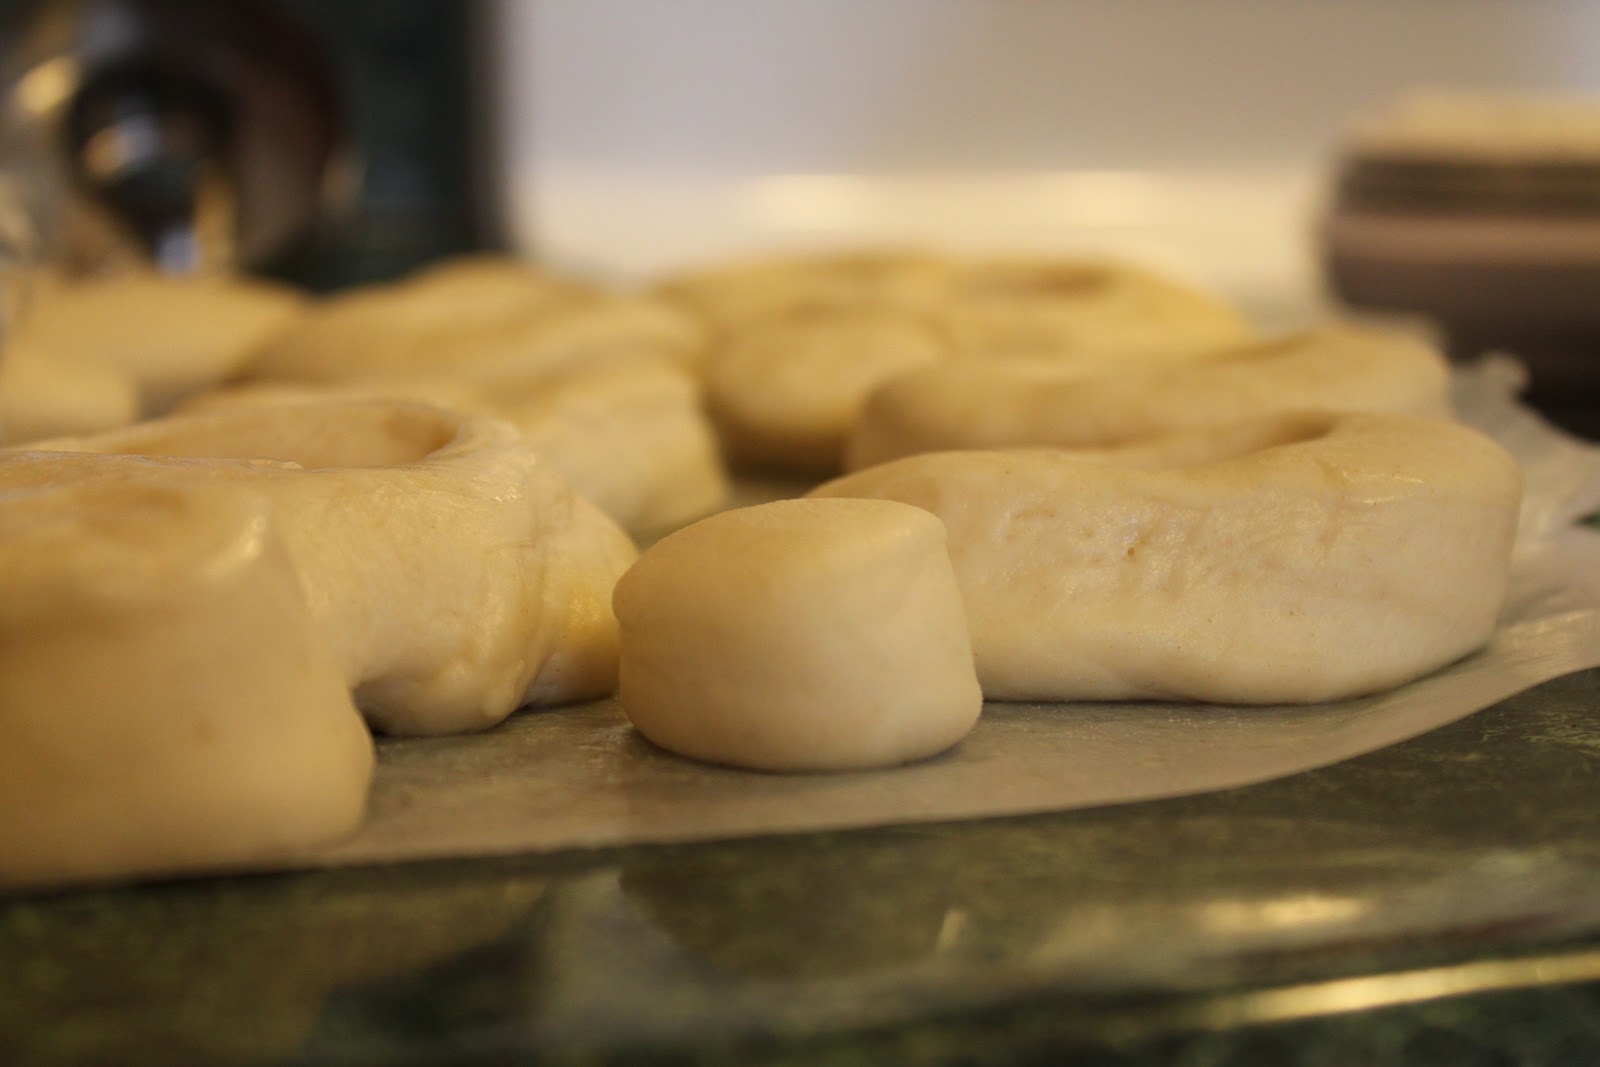
It makes cute little cupcake plugs

Brian cored all these. :) 

Then I made a strawberry cream filling while the cupcakes were cooling. I think whipping heavy cream was the most exciting thing I've done yet with a KitchenAid. If you've ever whipped cream without one you understand how exciting this moment was for me. I think I even went into the office where Brian was on the computer and did a little dance of excitement to try and convey how awesome this was. (Especially the fact that I could leave the cream whipping in the kitchen while I left to do a dance.)

This is all I've ever really wanted in life. 
And then, the finished product, iced and ready to go in my carrier/courier! And for the record, that thing is HEAVY with 36 cupcakes in it!

If you're thinking the icing looks a tad bit runny, you'd be right. It never actually fell over the edge of any cupcakes or anything traumatic like that, but if you're used to a canned frosting or canned whipped frosting you might be a little worried. If I had added the other two cups of 10x sugar the consistency would have been much thicker. But then I'd also be on the floor in a sugar coma and you wouldn't be learning about these great cupcakes!


Finally it was time to go to Em and Scott's to see their beautiful little girl.

"It's a baby!!!"

It's almost the smile we tried to get out of her all night.
Hope you all had a safe and lovely New Year's Eve!

P.S. for all the recipes, get this book. Everything is from the famous Magnolia Bakery in NY. Look through the table of contents on Amazon--you'll hardly be able to contain yourself. Or, if you're just dying of curiousity, let me know and I'll post the cake and icing recipes here. :)

Monday, December 20, 2010

Pie Crust Cookie Cutters

Guys this is super exciting. My mom-in-law got me these awesome cookie cutters that work well for dough and pie crusts from Williams Sonoma for my birthday.

Cute! There's 4 different leaf shapes. (These were the fall ones)
Seems easy enough, right? 
I've been waiting for a chance to use them! I prefer my apple pies Dutch so I needed to make a cherry pie so I could lattice the top. First, you have to make pie crust. My aunt showed me how after cutting up deer this year--man is it easy. There's no sense in buying store crust when you can make your own in 8-10 minutes (seriously no more than that). It is flaky and buttery and light and delicious.


{Pie Crust Recipe}
2 cups of flour (instead of sifting I just use my hand to scoop it into the measuring cup)
3/4 cup vegetable shortening
-->mix these together with your hands or a fork, until it's crumbly and the bits are the size of peas (ish)


Then add 1/4 cup of COLD water (no more no less, my aunt is very strict about this part). Mix the flour mixture with the water by hand until you form a ball of dough. This should not take very long and the point is to not handle the dough much. 


Now, this will create TWO pie crusts. So you can either do two dutch apple pies or have one pie covered with the second crust. 


{Rolling out the Crusts}
To roll them out, you again want to touch them and work them as little as possible so they don't get tough. Flour your table and put half the dough on it. Use the palm of your hand and push outward in a circle to start widening the dough and flattening it as well. Flip it over and do that again. (add a little bit of flour if it's sticking. Not too much!)


Once you have a decent circle, get your rolling pin (don't have a rolling pin? A drinking glass or wine bottle work just fine) and flour it if necessary. Roll the dough out into a circle that is fairly thin. The edges are going to be imperfect in places--that's okay, you'll trim it up later. Use something flat like a huge spatula or food scraper and gently unstick the dough from the table. Place it in your pie dish. (I lightly flour my dish beforehand. I'm not sure if that's necessary, but I get paranoid about sticking!)


Ta-da!! 
Once it's in the pie dish, you want to gently push it down into the dish and fold the edges under so you have a lip to the crust (we're going to crimp that sucker next!). You can gently trim back really large parts of dough and use those extra pieces to fill in other parts of the crust that are a little thinner and don't have much height to them once folded under. Then, gently crimp the edges with your finger tips. There's no exact science to this, and I think it takes some practice. 


Meh. Not bad. This side looks better than the other for sure! 
Now for the fun cookie cutter part of this story. I took the second part of the dough and flattened it in a circle as mentioned above, then rolled it out. You don't have to worry about the shape here because you're just going to cut it up! Be sure you don't roll the dough too thin--your little pieces will break apart and the pie will seep through if it doesn't have something sturdy on top to keep it in.


I picked a very straightforward, thinner leaf so that I could easily lattice the top of the pie.
This is just like cookies--take your extra dough and roll it out again and make more leaves! 

I used the "bash and chop" to scoop my little leaves off the table! Worked like a charm.
The rest is pretty straightforward: place your leaves, slightly overlapping, on your pie!


I had to seriously resist the urge to make this into a peace sign after starting with the middle row...
Yay leaves! What a pretty impact for such little work. 
And, here's the finished pie, just out of the oven!


Yeah I know it looks basically like the picture above...
So here's some important things I've learned. 
      1) When you're reading the recipe you want to use, take note that canned cherries are not the same thing as canned cherry pie filling. My epic fail of this pie is that I didn't even realize what I had done until I opened the can and went "EEEEEEEKKKKK!!!!! This is syrupy!!!!" And then realized my mistake and all the corn syrup I was about to make us injest. Don't be on auto-pilot when you go to the store!! Regardless, it will hopefully taste fine. I added a 1/4 tsp of almond extract and a tablespoon of butter to the cherry pie filling, which I heated on the stove before adding into the crust so the butter would melt. (Those things were in the original recipe I was trying to use). 
     
     2) When people tell you to "seal" the edges of your pies, they're not joking. See how all the filling has seeped out around my pretty leaves? To remedy this, next time I'm going to start with a layer of leaves around the crust, and push it in a bit to seal the filling. And then I'll make my lattice. I think that will be both pretty and functional in fixing the filling seepage. 


The outside crust on this is nice and golden and the leaves are still a bit light, but I think that's okay. :) It's going to take awhile to cool on the stove so we're going to wait to try it tomorrow night with Brian's parents before the Christmas play at Crossroads! 


Have a great evening!

Friday, December 17, 2010

How Did People Live Before Dishwashers?

No, seriously. Does anyone know? Because it just took us over two weeks to get all the dishes done from several different large cooking projects. And a lot of that is procrastination and pure laziness. And then a lot of it is that the pile of dishes was SO BIG and took up one whole section of our counters (we have two L's of counter tops...I know we're super lucky) that we were so overwhelmed we didn't know where to start. I wish I had a picture of how many dishes Brian had to wash. (Note: I don't really wish I had a picture. That would be embarrassing.) 


One of my theories on how people lived is that before dishwashers women just sat at home all day and waited on the male species and therefore didn't have anything else to do but the dishes. They were probably so bored that doing the dishes seemed fun. 


My only other theory is that they were so bored with the life of a 50s housewife that they were in some kind of stupor while they did the dishes and didn't even know how boring and time consuming doing dishes by hand actually is. 

One of my first apple pies, and one of the biggest culprits of so many dishes. (this was before I added the Dutch topping) Yes, that is butter melting on top. Amazing. I'm going to go eat a piece right now.
*shrug* I thought it was time to add a photo. 


And I also thought I should look up when dishwashers were actually invented since I was knocking the 50s so badly. 


Turns out, a rich lady in 1886 invented the first one that actually worked decently because she was tired of her servants being slow and chipping her china. My bad. I'll stop ragging on the 50s for the rest of this post, especially since dishwashers actually didn't become really popular UNTIL the 50s. (Another interesting note about this lady--she formed the company that eventually became KitchenAid. I bow down to you, Josephine Garis Cochran, and your amazing inventions.)


Also, Granny, I know that Mom reads you all my posts (which I think is the coolest thing ever), and that you think everything went downhill after World War 2. I hope you'll forgive my modern, feminist perspectives on life and washing dishes. 


So anyways, not having a dishwasher is really hard because I cook a lot, and I cook so much from scratch. When you cook "from scratch" you use a whole lot more mixing bowls and measuring cups and spoons, etc. And Brian is so wonderful because he does so many dishes. And so many more dishes than I do! I'm going to make him a cherry pie in appreciation of his help around the house. And, in the process I will create a ton of dishes that need to be washed. And he will probably end up washing them. It's a vicious cycle, people, of delicious food and household chores.


But let me tell you: the day that we finally have one of these again


I will be SO HAPPY. And I'll speak for Brian here as well here and let you know that he's going to be ECSTATIC!!!!! 
Related Posts Plugin for WordPress, Blogger...