"Imagination is the beginning of creation. You imagine what you desire, you will what you imagine and at last you create what you will."
-
George Bernard Shaw
Showing posts with label creativity. Show all posts

Friday, April 5, 2013

Archer's Room

I am so in love with Archer's room. When it was close to being finished and I was trying to feel more connected to him I would sit in the rocking chair and try to relax. I tried to keep it simple and clean and modern. I didn't want an overtly baby theme because I wanted everything to potentially be reusable for any future children, and to grow with them as well. I basically designed a room that I would enjoy spending a lot of time in because let's face it--babies don't know what's going on. And they certainly don't appreciate design. I keep resisting the urge to add more things that will surely only clutter his room. I'll probably allow myself a few pictures on the walls soon now that he's here and wonderful and so darn cute. But other than that I'm trying to take a more simplistic approach to the house. I have been inspired 100% by the lovely Jodi Mockabee. She's amazing. And she has zero dollars to spend on most redecorating projects (we have that in common!!). Read a couple posts from her blog and you'll be sucked into reading about her family of 7 (yes, that is a seven) forever!

The view when you open the door. The poms over the windows are my favorite!!

To the right. Dresser from Craigslist and painted by my mom and Aunt Kate. 
Glider from the Allens--I rocked both boys in that for years!  Found an awesome new pad for it to match the bedding and Brian spray painted it white.
The alcove where the changing table is, to the left when you walk in the door. Got an antique secretary desk and mom and Aunt Kate painted it yellow.  
Ikea kitchen organizers for diapering supplies.
More Ikea kitchen organizers. All the Ikea stuff was under $20!
I recycled some canvases that were lying in the basement and added a little fabric and wooden letters that were 50% off. Took me about 15 minutes and cost about $15!
Princess Viv saying hello. That lamp has had MANY lives since I bought it in college!
This makes my heart happy. So many books from our wonderful friends and family all organized and ready to go. The bookshelf was free from a friend and mom and Aunt Kate painted it the wall color.  

Wednesday, September 7, 2011

Melted Crayon Art

Okay, I'm just going to come right out here and say it: this is by far the coolest craft I've ever done. It's just as easy as you'd think it would be. I am seriously proud of these finished products.

So if you're on Pinterest (if you're not, what the heck is wrong with you??) you have seen these crayon art pictures being repinned for quite some time now. I finally looked at one of the tutorials and decided "Yeah I could totally do that." And lucky you, I'm going to include a lot more instruction and helpful hints that I sure wish someone had told me before I started spraying colored wax all over the dining room.

Step 1: Procure Crayola crayons, canvas and a hot glue gun. How many crayons do you need? Turns out about half of what we bought haha. My good-sized canvas only needed about 75. Brian's littler one about 40ish.

Done and done.

Vivienne, overseer of craft time. "You're doing it wrong human!!"
Alternatively, "I hate those colors!!!"

Step 2: Lay out the crayons in the color order you want. I am neurotic and a little fixated on rainbow order so that's what I went for. However, I also wanted to make sure that each color was a gradient from dark to light: THIS TOOK FOREVER. And even after I thought I had it pretty well laid out, I decided to go back through each color family and color on a piece of paper to see if I truly had them in dark to light order.

Really annoying, but if you're OCD, a must.

I also suggest laying them against your canvas so you know if you have the right number.

Step 3: Hot glue the crayons to the canvas with the flat end of the crayon flush against the top of the canvas. It's up to you if you want the Crayola logo out or hidden. I think it personally gives the piece a more methodical, uniform look at the top above the craziness of melted color. If you choose this method, a strip of hot glue down the seam to the crayon wrapper will be perfect placement. Another tip: adhere the crayons from the side. So instead of looking straight on to the canvas, turn it to the side so it's like you're stacking the crayons on top up each other up the canvas. This will help you keep them straight (as long as that first one is on straight!). The first canvas I did I was looking straight on and a few are just ever-so-slightly crooked. This makes me twitch a little but besides BRIAN who so helpfully pointed out the slant, I'm sure nobody will notice.


Add crayons from this end!

Step 4: Rig up a way to keep your canvas upright so you have both hands free. Lay down some garbage bags if you're inside. Here's a tip: melted crayons splatter. My one garbage bag was NOT enough. I would basically suggest that if you have a garage or unfinished basement: use it!! Our dining room came out of this project unscathed by the skin of my teeth (and probably some magic).


Brian can be very creative when he wants to get out of doing something...

Step 5: Get an apron (did I mention that the melted wax will spray?) and a hairdryer and put it on high. At times I tried a more medium speed but it's honestly just not hot enough to really get the crayon flowing. Holding the hair dryer an inch or so from the crayons worked well.

I suggest keeping the hairdryer as perpendicular to the canvas as possible.

Hard at work. This is really not an appropriate place for this project...
Some tips: 

When you hold the hair dryer that close to the crayons, the air is pushed all over the place. Feel where the air is going so that you know what will be melting. I was surprised at first that when I would have the heat directly on the blues the greens would be melting like crazy. By feeling where the air is you can kind of direct what is melting. Pretty cool.

Another thing about the direction of the air: you can create some cool splatters across the canvas. These were unintentional (and slightly alarming!) at first, but it's a very cool effect.

As the wax starts to build up and cool (this happens very quickly), you can heat that buildup of wax back up and have it travel further down the canvas.

You are really using VERY little of the crayons so heat away for awhile! You're not going to run out.

An interesting technique I realized at the end: If you slowly move the hair dryer across ALL the crayons back and forth (over and over) you can create a really steady stream of wax that doesn't build up all that close to the crayons. Once there is a buildup you can heat that line and have it travel even further down the canvas.

Sometimes when you have the hairdryer directly on a section you can see it melting but because of the air flow it's all getting pushed upwards. Sometimes I would let the hairdryer sit on a section for a couple seconds then pull it away and all the melted wax would run down.

And finally the finished product!


Except it wasn't REALLY the finished product. 

After looking at a couple other pictures of these online today I realized that I really didn't melt the wax far enough. I thought some white space would add some artistic, interesting dimension to it, but I was wrong. So today I got it back out (cut up two more garbage bags for good measure) and reheated the built up line and more of the crayons from the top. THEN, I got a beautiful finished product that I am just so happy with!!!

Wooohooo!!!!! 

I was so excited I made one for Brian too, with blacks/grays and greens for my Cavalier. :)


He wanted his vertical and REALLY melty.

I really felt like I got the hang of this with Brian's. See how there's quite a bit of distance before the build up starts? That's because I started going back and forth across slowly and steadily.

The other cool thing about these is they're pretty much ready to hang immediately. The canvas might be warm for a minute but the wax is hardened and cool in seconds. Ours are above our desks right now as a source of constant crafty, creative inspiration.

So here's some good news: Michael's is having a 40% off sale on all their canvases this week! So if you want to do this at some point in the future now is the time to go get some canvas. If you go to their website you can also download a 40% off coupon to help with the cost of crayons.

Total project for two canvas and a ton of leftover crayons: $60. (Total cost of artwork I originally wanted above my desk? At least twice that hahaha)

And, if I may, I would like to discuss crayon colors for one second. I was ASTOUNDED to learn that there are about 1,000,000 colors of crayons now. What happened to "purple" and "orange"? Now there are things like "Purple Heart" and "Macaroni and Cheese." Seriously? I was also annoyed by "Shadow" and "Manatee"--it's called GRAY people!!

P.S. I also as a matter of principle didn't use Cornflower Blue--the most awful blue ever created. You think you've picked up a nice dark blue and it ends up being that ridiculous super waxy light blue that barely leaves any color behind. It felt wonderful to finally put that crayon in its place by excluding it from my cool wall art.

Monday, August 29, 2011

Mom bought an antique sewing machine!!!

How did she know?!?!

Mom was driving past a consignment shop in Milford awhile ago and saw this lovely piece of "furniture" outside the front door. I say furniture because if it had been me I would have been all "Oh look at the nice little table. I wonder if it has a twin!" But mom knew what probably very few people would- THERE WAS A SEWING MACHINE INSIDE! Or at least, there used to be. She was hoping there might still be something inside. I have no idea how she knew that. The photo above is literally what she saw from the street.


!!!!!!!!! 

Mom had told me about this a couple weeks ago and then I kind of forgot about it. She went back to see if it was still there on Thursday and bought it for $25. What a steal! But it's kind of heavy so I came over after work to help her get it home from the store (that was a whole separate fiasco). Then we set it up in the driveway to take a look.


Look how big the work surface is!

Some moron painted it white but we're going to try and refinish it this fall/winter (right Mom?! :) This is actually electric (I know it looks much more ancient than that) and came with all the original attachments, manual, feet, etc. Mom found them all in these side compartments that the consignment lady didn't even know about!


The two sides lift up to show little organizers, but under THOSE is a
big open space where lots of things were hiding!


Jackpot!! Everything in wonderful condition.

The original manual, from July 1927. :)

Two heavy tin boxes, and inside....

All kinds of feet and attachments! We decided you'd have to be either an
engineer or my Papa to figure out a machine like this nowadays.

Those things above can make ruffles and all kinds of crazy things. But, one of the coolest things emerged: the buttonholer.


It came in this little rectangular leather case that folds up and snaps all together.
It has its own little instruction booklet and appears to be in perfect condition.

However I also feel like some of its attachments resemble old torture devices.
Kind of sinister looking huh?

So after looking through everything we decided to plug it in and see what, if anything, happened.


Yeah...I don't think that plug is up to code...

The answer at first was: Nothing. Nothing happened. UNTIL, I pressed this:


Turns out these were controlled by the side of the leg/knee while sitting down.
Just press your leg against it and the motor starts whirring!

Unfortunately it didn't all start turning and the needle (which is still in the machine!) didn't go anywhere. BUT I think there is hope. Because the needle does move up and down when I turn the wheel at the end. We just need to get the wheel cleaned and lubricated and I think it might actually "work" some day.


Look how huge those diaper pins are!!

That last photo is the part of things like this that I really love. I wonder what kind of baby the woman had. And if she made diapers for it. There was still a threaded bobbin in the machine with some God-awful red/orange/rust 70s-type thread in it. What was the last thing she made before she put this machine away forever? Why did she decide to stop sewing? Because she couldn't any more or because she didn't want to anymore? Is she still alive today?

This was such a fun little adventure with Mom--almost like a treasure hunt. Can't wait to see what else can come of this little machine!

Wednesday, August 17, 2011

I'm Buying a Sewing Machine!

No, I do not sew....YET!!! :) This summer I was supposed to be only cooking, but was sneakily recruited by the sewing ladies to help while I was on tour. It was hilarious the way they did it--saying they had heard I wanted to know how to sew, and then teaching me a few basics so I'd feel more comfortable with the machine. Letting me help on a pair of pants or two. And then BAM!! Out of nowhere, telling me that there's nobody signed up to sew the entire time I'm on tour. How could I turn them down? They work so hard, and we can't have the kids in baggy, ill-fitting uniforms! This is what you're going for:

Hi Brian!


As I've mentioned before, I learned quickly that Mary, the physical therapist, was an excellent sew-er (when you put it as sewer it looks like you're meaning sewer system...) and I was able to bow out of any real sewing duties until finals week.


Vintage looking handmade Barbie clothes from here


But I've been interested in sewing for a long time. And I've grown up knowing that my Granny is an excellent seamstress. She would make my Barbies elaborate clothes with snaps and coats and matching skirts and tops out of little scraps of fabric. The dresses above are not from MY dolls, but I'll have to take some photos the next time I'm at Mom's! I have always heard stories of the clothes she made my mom. I know my mom has made herself some simple dresses and tube tops when she was younger. My cousin Carrie bought a sewing machine awhile back and we had joked about her making the chair covers for my wedding. I've mentioned before how we're a crafty, creative family, and I've felt for some time that I could be quite successful in the sewing world.


This past week, I had the opportunity to proofread my first quilting book for F+W and that's when the lightbulbs went off. I had previously wondered how successful I could or would be with making clothing. And if I would even keep up with making clothes. When I started reading about quilting I realized that that is the type of project I've been waiting for. Everything about quilting appeals to me. The different fabrics you choose (and the quite involved/complicated process for choosing them), the pattern you choose, piecing it all together over a period of time. It is all very precise and measured, but at the same time gives you infinite creative possibilities to experiment with color and pattern and size. When I make cards I've realized my most favorite part is choosing the papers I'm going to use. If I had a project I wanted to start and didn't know where to begin, I would sometimes just walk around a craft store until a piece of paper caught my eye. And when I found that right color or pattern or texture, suddenly I could see everything else I needed to find to make the vision a reality. I already have my eye on some fabrics that I think would make beautiful quilts. I keep gravitating towards these two! I'd probably want at least two more patterns/colors, but these are a good start. :)

 
From Jo-Ann's

Also from Jo-Ann's (brand is Legacy Studio)


Those would be pretty with some gold and coral patterned solids. Maybe a cream backing? SO MANY POSSIBILITIES.

The other aspect of quilting that appeals to me is that I think it would be a wonderfully heartfelt gift. It would take a little research to figure out what colors/sizes/etc. appealed to the recipient, but I think it would be a pretty awesome experience to spend so much time working on a project that you're going to give away to someone else. I know many people o
nly see quilts as "country," but if the book I've just read (and countless others I've now researched) is any indication, quilts can look more modern and fresh than ever. I really think the fabric is the most important part of getting the right feeling. 


Here's one that made me think of our friend Jenny from small group, and her new baby Liam. Their nursery has a woods/owl theme. This would be absolutely adorable in his room!!


So adorable. Baby quilts will be a good place for me to start! From Etsy here.


I haven't seen anything like this yet. Love how it's quilted. From Etsy here.


More modern in black and white. The pattern is so creative! From Etsy here.

So here's the sewing machine I'm thinking about, a Brother XL-3750. Sounds fancy but I don't know if those letters/numbers mean anything! 

I'll be getting it from Amazon thankyouverymuch Jo-Anns...


It's reasonably priced, it can do quilting stuff. There's a few different, more decorative stitches. It has, overall, really great reviews. Some people have had thread tension problems but others were able to fix that. I went to JoAnn's to get some expert advice on a first sewing machine and was incredibly disappointed that the women there are affiliated with Viking and really only wanted to recommend the $400 machine with the automatic up/down needle. They wouldn't even discuss the Brother machine I'd like to get. I asked how they could sell a sewing machine online and not have any information about it in the store, and that's how I found out they were associated with these particular brands only. Are you listening JoAnn?! VERY disappointed. So I'm going with this one, and we'll see what happens. I basically just need some straight stitches through 3 layers of fabric. Can't be that difficult right? And I'll take it somewhere to be professionally quilted, but one reviewer has even done that herself freehand on the machine. If anyone knows anything about this particular machine, or has any suggestions/opinions for a CHEAP comparable one let me know! I have relied soley on Amazon and other website reviews to make this decision!


Tuesday, January 25, 2011

Uninspired

So a week or two ago I decided to buy a showcase on Etsy. For $7 your stuff gets a featured spot on the homepage of the "paper goods" section of Etsy for 24 hours. It can be fairly hard to get a showcase sometimes. I was feeling super excited because I had just sold two cards that week to two STRANGERS (that is still a huge deal to me!). I figured I'd at least make back the showcase fee. And I just went for it. 


And I didn't sell one thing. Not one thing! It was kind of depressing. And surprising. And then I felt conceited for feeling surprised that people wouldn't want to buy my stuff. I put so much effort into making sure everything looked good and the best pictures were up, etc. And individual cards got more hits/views/hearts. But no money in my pocket. I've been in kind of a funk since then. I haven't had any real interest in posting to Etsy all the adorable Valentine's mini-cards I've made. And now it's almost February and I'm running out of time for Valentine's day. *sigh* I think tomorrow I'll make myself pull it together and start again. But seriously--these set backs really take a tole on my excitement and energy and enthusiasm for my card business sometimes. 


Tuesday, December 7, 2010

My First Craft Show

I can't believe it's all over!! A (very short) month of preparation has come and gone and culminated at the Milford Craft Show this past Saturday. Running on approximately 4 hours of sleep, Brian and I managed to sell about 30 cards and not kill one another after spending over 8 hours in an 8 ft. by 5 ft. space. 

Here's me at my booth! Isn't all the color coordination fun? :)
I spent SO MUCH TIME planning how I wanted to lay out my booth and display all the different things I had to sell. And I think I'm really happy with how it all came together. If I had had just a couple more feet it might have been a little better. I'm thinking of getting an 11' x 5' space next year and upgrading a couple feet. We'll see. :) My other ploy with getting a larger size booth is that by default I'll have to move to another location (I'm hoping for one closer to the main entrances!! We were buried at the very back of the school). 


The most handsome and supportive husband ever!!
I still have issues with really putting myself out there and supporting the business. I always feel really awkward. And I'm not a shy person! So it's kind of weird. But Brian did a great job of encouraging people to take a business card and telling them about my blog, etc. Thank goodness for him! (I was put on notice, however, that in the future he will happily help me set up and tear down for every single craft show I do...but sitting there for 8 hours is a little out of his realm of supportiveness in the future hahah).


Here's some more of my setup: 


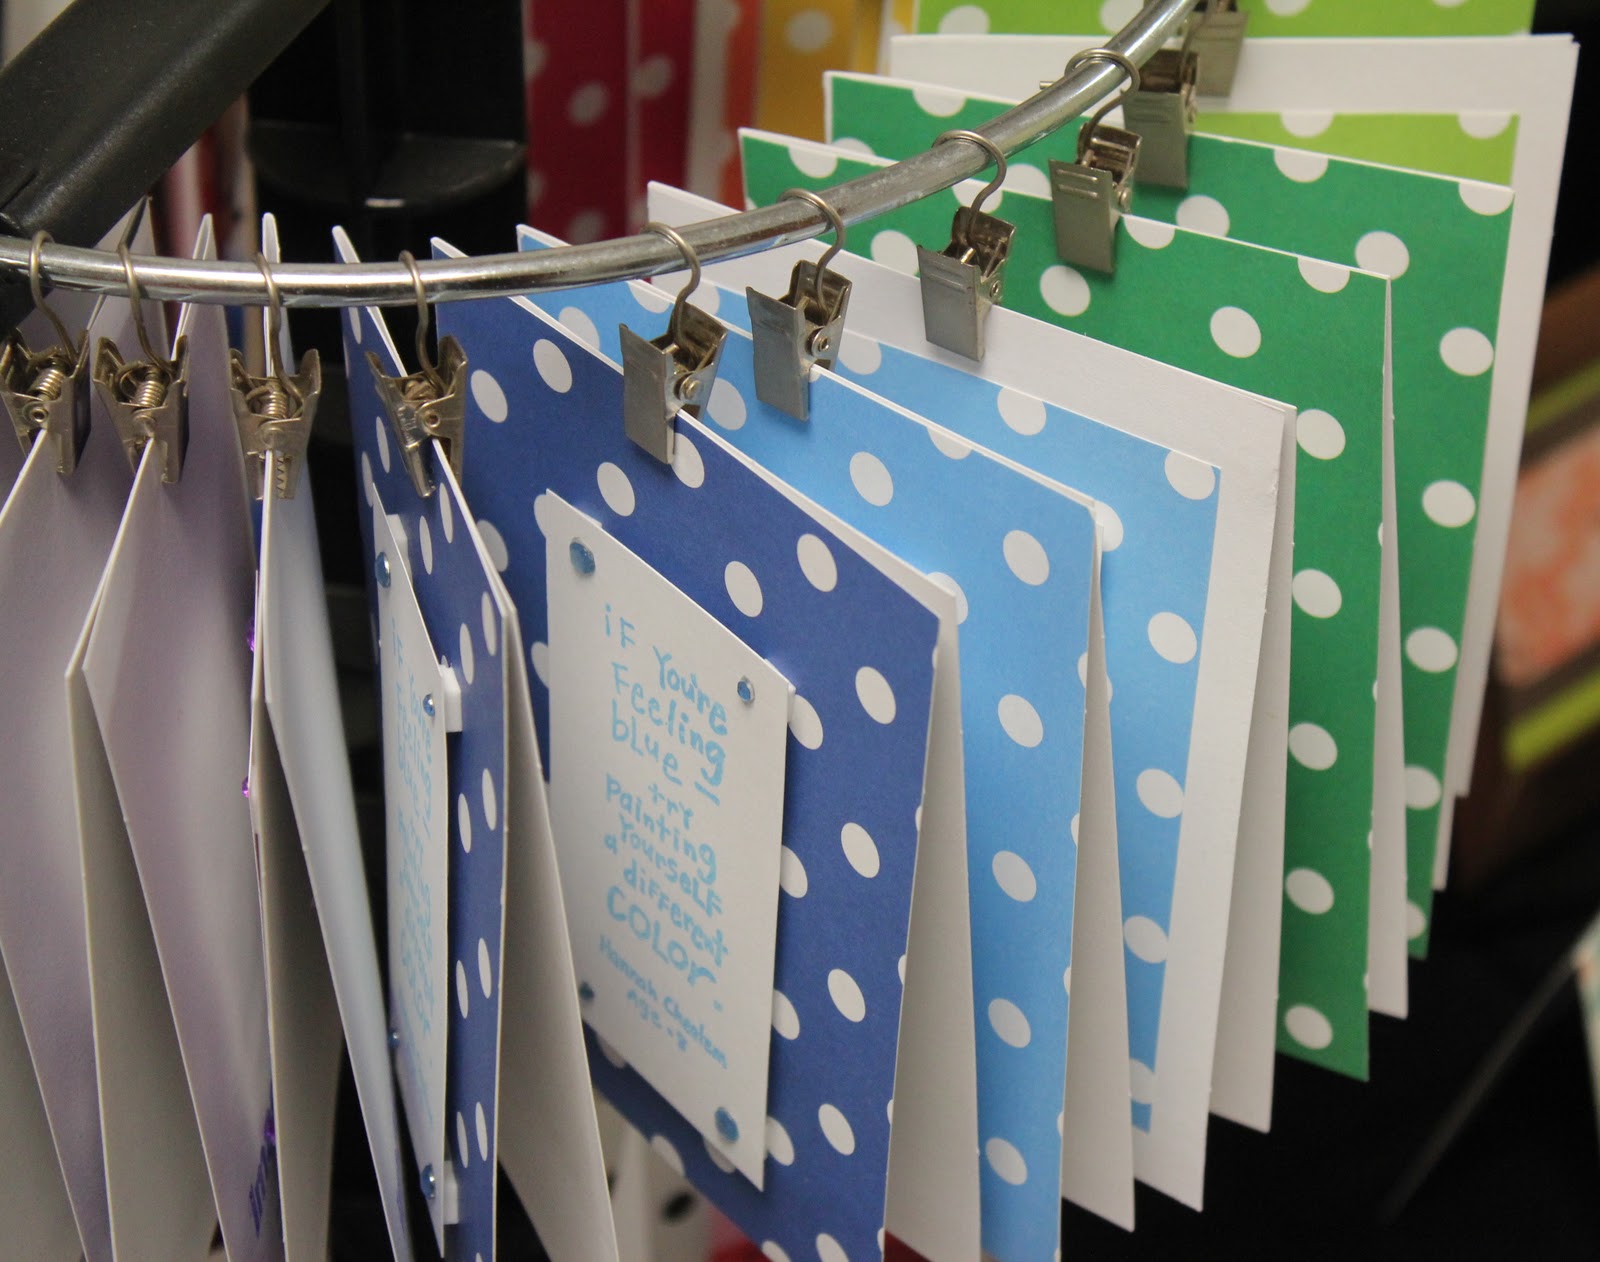
One of my most brilliant ideas for sure: taking all my craft supplies off this thing and hanging up all my kid quote cards in rainbow order! (each color is generally a different quote) It spins and was so much fun. 

This card spinning rack to hold my Christmas and holiday cards was wonderful. I am so glad I paid ridiculous shipping to get it in time! Made me feel professional. :)

One of Brian's more "artistic" shots with my sign blurred in the background. The payment sign was the topper for my Christmas tree (who's ornaments were appropriately color-coordinated with my booth of course). 
And finally, I got a custom order at the show! My customer liked a Bible verse I had framed, but wanted it in a different color scheme to give as a gift. Here's the final product. I really love it!
The parameters were: sky blue, grey and crimson. That's it! Love that kind of creative freedom. 
To all the family and friends who came to support me--THANK YOU THANK YOU THANK YOU. Your happy, smiling, enthusiastic, supportive faces are literally what kept me going all day. When you're around booths that are selling like crazy (even to other vendors before the craft show officially started!!) things can get very discouraging to say the least. And without you all I honestly wouldn't have sold anything! (Hah! You think I'm joking but I'm not!!). You all are truly supportive of all my ideas (no matter how crazy) and I really appreciate you all. 


P.S. If you're new to the blog, WELCOME!! We're also on Facebook, so pop on over there and "Like" our page. Thanks for your support!
Related Posts Plugin for WordPress, Blogger...